Wednesday, March 31, 2010

Trees

3 comments

IMG_3673

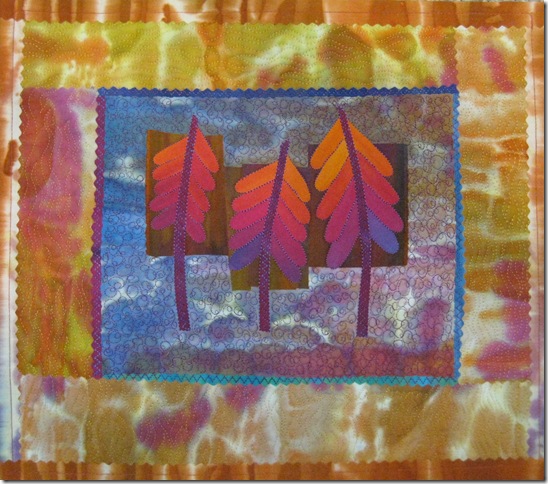
12” x 12” Gradation cotton on “wicked” background

 IMG_3674

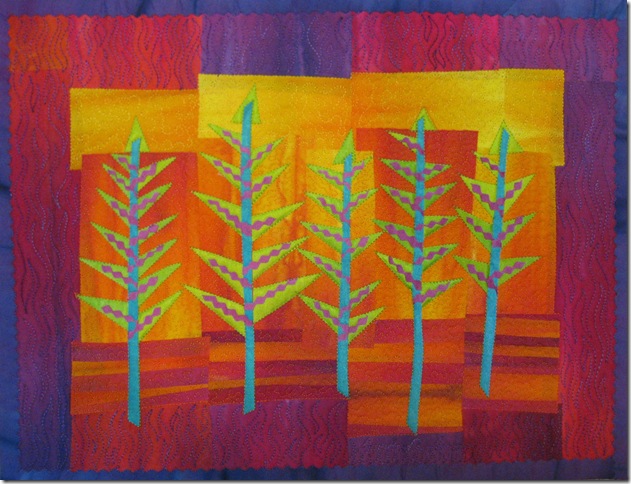
Lime green, aqua and fuchsia silk on variegated cotton. 12” x 10”

If you didn’t know it already I really like TREES. I am always looking at them when I am outside. When I am driving my car I always notice the trees in the area and when I am on the highway my eye is drawn to the trees on the horizon. These two thumbnail quilts are my latest in my ongoing series of trees.

As always I need help naming these two new quilts. Any suggestions are welcome. To see more of my tree designs you can go to my website.

Monday, March 29, 2010

Fusing Hand dyed Fabric

3 comments

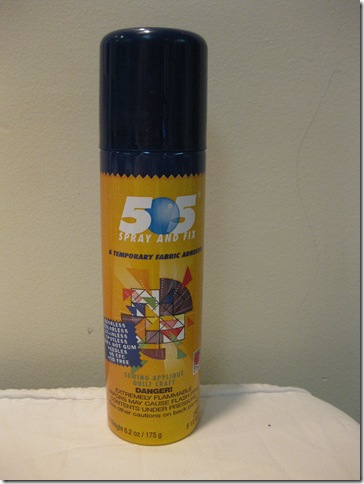
As you may know I am a fuser. Most of my quilts are fused, and I usually fuse right to the batting. I am really liking Fairfield 60/40 cotton batting. It is a little stiffer and heavier than what I had been using and it gives my work almost a trapunto look when I quilt it as well as giving more body and support to my wall pieces. They aren’t so limp. Another product  I am really liking is 505 spray adhesive.

IMG_3683

When I haven’t fused the whole back of a piece I use this product to spray baste my quilt to my batting. It lets me spray baste any size quilt to the batting and it stays put!!! It isn’t gummy or stiff and it works really well at keeping everything flat and were you put it. I have been using it for about three months now and haven’t experienced any bad side effects. I have to say that I have been very happy with both of these products.

Friday, March 26, 2010

Disaster

7 comments

I am working on a new fused piece. I had disaster strike two days ago. I can only now talk about it. Although it was a minor catastrophe in the world scheme of things, it totally ruined my day.

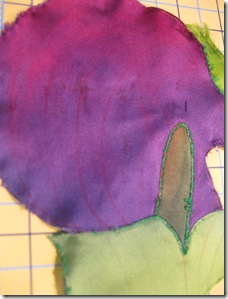
I have started satin stitching some of my larger pieces. After working on this piece for a full afternoon, I got up from the sewing machine to press out the rippling that is caused when doing satin stitch. I didn’t realize at the time that my iron had gotten fusible on the surface of it. This is something I tell my students ALL the TIME, to make sure that their iron surface is clean. I ironed my newly stitched Jack in the Pulpit and low and behold there was gunk on the surface of my iron that transferred to the surface of my silk Jack in the Pulpit. I was beside myself and tried desperately to remove the gunk. I know from experience that this is rarely something that can be done, removing gunk on the surface of the fabric.IMG_3679

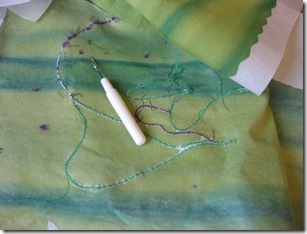
Finally I realized that I must pick out all of the stitches and remove the piece and do it again. Surprisingly it only took me two hours to pick out the stitches and another hour to re cut the pieces and re insert them. Another hour to re stitch the section.

This is a lesson that I will never forget and I will ALWAYS check the surface of my iron and will try to get into the habit of using a pressing cloth in the future.

IMG_3677 IMG_3682

Thursday, March 25, 2010

Friends of Festival

5 comments

I have started receiving a new newsletter entitled Friends of Festival. It is a new venture from IQF to keep us informed and up to date on what will be happening at the IQF quilt shows.

There is a link there about my friend Wendy Butler Burns who is the Jewel Pearce Patterson Scholarship recipient this year. I hope you will take a minute to wander over and read about Wendy as well as check out this new e-zine newsletter.

I am working in my studio all day today. I am trying to get my entry for Houston done on time. I have three weeks before I start traveling again and I should be able to get it done. Wish me luck.

The last month I have been trying to make a small quilt every other day. Small meaning under 20”. So far so good. Here are two of my favorites so far. You know not everything that you make is always going to turn out the way you want it to and you are not always going to like everything that you make. But these two I am happy with.

Woodland secret

Woodland Secrets 12” x 12”, hand dyed silk and cotton. Machine quilted rayon and silk thread.

IMG_3671

blowinginthewind

Blowing in the Wind. 8” x 10” Hand dyed cotton and cotton thread by Laura. Machine quilted with Madeira #30 rayon.

bitwcloseup

Wednesday, March 24, 2010

Springs Greeting

11 comments

anderson_spring_full

Springs Greeting just received second place in wall quilts at AQS Lancaster. If you missed seeing it there but are going to be in Paducah it will be displayed with the winners from Lancaster at the Paducah show in April. WoWo!!

anderson_spring_detail

YLI silk thread on Frieda’s silk fabric. You can buy my silk fabric at the Chicago show in Rosemont. Booth #1123 April 14-17, 2010

International Quilt Fest Chicago

2 comments

IMG_1525

The Chicago Show is fast approaching. I will be in the booth alone this year, Laura is off teaching in Tucson. The booth is called “THE CHICAGO SCHOOL OF FUSING PATTERN WORKS” #1123. I hope you will all come by and say hello and check out my new patterns. Other new items are; precut 5” squares of hand dyed fabrics, gradation packs and hand dyed silk ribbon perfect for all your embellishment needs.

Tuesday, March 23, 2010

Hand Dyed Fabric – Testimonial

2 comments

Your book is so much better than the other books on dyeing that I have bought...a great addition to my library!  Thanks.

Stephanie Nordlin
Stephanie Nordlin Design

snfashiony@yahoo.com

www.stephanienordlin.com

I think so too, thanks Stephanie :)

Monday, March 22, 2010

Pat Sloan’s Creative Talk Radio

2 comments

I will be featured on Pat Sloan’s show today.

radio button for my sites

Show Time is Monday 4pm EST

Friday, March 19, 2010

Hand dyed fabric – gradation from one color to another

4 comments
IMG_1063 IMG_1053 IMG_1055 IMG_1056
IMG_1057 IMG_1062
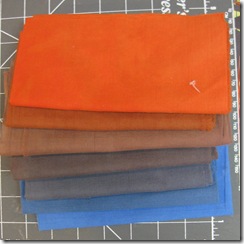
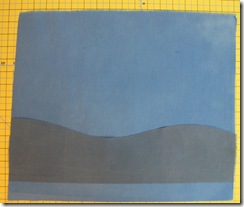
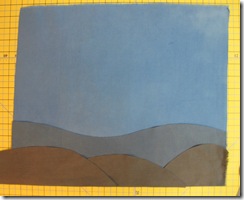
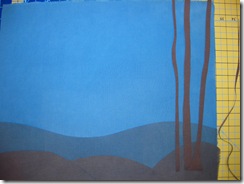
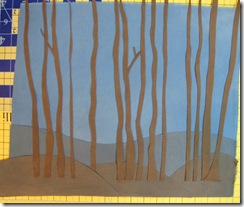
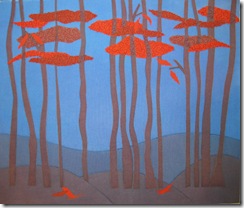
One of the projects in my book, which you can order by going to my website, uses a gradation from one color to another. This gradation goes from orange to blue and all the wonderful browns in-between. It makes the project so cohesive and fun to make. And since I love trees so much it was a natural to do this fall tree composition.

Wednesday, March 17, 2010

Creating a workspace for hand dyed fabric

2 comments

011

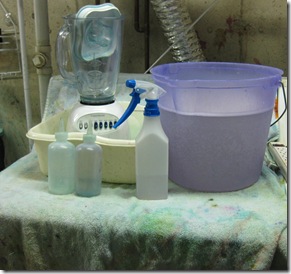
I do all my dyeing in my basement right next to my machining machine. The same machine I do all my family laundry in. I bought a small light weight molded plastic table at the hard ware store. These tables are so handy and they come in many different sizes so I have them in different sizes that I use for different things. They are easy to move around because they are so light weight. The one I put in my basement area is  48” long because that is what fit in my space. I then extended it up to a working height by putting it up on PVC pipe. I am able to put my table next to my laundry sink. I also have a rubber mat on the hard concrete floor so that I protect my back and legs. This gives me a work area to mix my dyes and to spread out my containers while I am doing my gradation. I don’t ever have to move this set up.

002

I can also use my washing machine to work on. I cover it with an old towel or blanket that I sprits with water. The damp surface will catch all the air born dyes and particles as they settle back to earth. Notice I put my blender in a dishpan to catch any spills and run over. What ever I need to do to contain any mess I might make makes clean up so much easier. If you don’t have a basement, maybe you can set up a work area in your garage or carport or the laundry area that you do have. Or even outside.

IMG_0948

Medium gradation, dark gradation, light gradation.

IMG_1263 image0-3

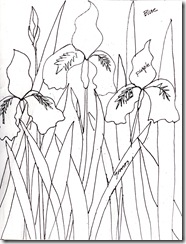
Iris is one ofIMG_1264 the projects from my book. 

Monday, March 15, 2010

Fabric to Dye For – hand dyed fabrics

3 comments

One of the reason that I wrote my new book, Fabric to Dye For, was because I don’t use metric measuring tools. I know we all should, it is so much more sensible, but we have stubbornly held on to using cups, tablespoons, teaspoons etc… Every other source I used to find dye formula’s had metric measurement tables. I found it confusing and tiresome to try to convert these all the time. I converted these over to the measurement terms we use here in the good ole USA, quarts, cups, tablespoons, teaspoons etc.. and am much happier dyeing my fabrics.
 004 026

I also don’t use urea to help my dye’s dissolve. I use a blender to do this for me. It works really well and I know the dyes are blended and ready to use in just a few seconds after thoroughly blending them in an old blender. Don’t use your kitchen blender for this. Go out and buy a new blender for your kitchen and use the one you have to blend your dyes.

Another tip that I find useful is to use containers instead of plastic bags to store the fabrics in after the dye has been added while you are waiting for them to process. By putting them in reusable lidded containers you can stack everything up on a shelf or in a box and very easily move them around while you are waiting for the color to bond with the fiber. The lidded containers are also much easier and quicker to clean up than plastic bags.
Friday, March 12, 2010

Hand dyed fabric

9 comments
My friend Rosalie Baker won an award using some of my hand dyed cottons. This quilt she made using my hand dyed red cottons just won an award at the IQF show in Chicago. If you are in the area you should definitely go to this show because you see so many amazing quilts. And the vendors are wonderful too, I will have a booth there #1123 selling many hand dyed fabrics, including lots of reds, patterns and thread.IMG_3433 IMG_3435

Thursday, March 11, 2010

Alyson B Stanfield

2 comments

I just got home from a two day workshop with Alyson B Stanfield. She has a great book entitled I’ld Rather be in the Studio.  We learned many great ideas and tips about promoting our selves as artist. I can’t wait to get them all implemented.

IMG_3621

 Me and Alyson.

On the way to the Sienna Center in Racine Laura W.and I drove up to Kenosha and stopped at the Anderson Art Center to see the exhibit -

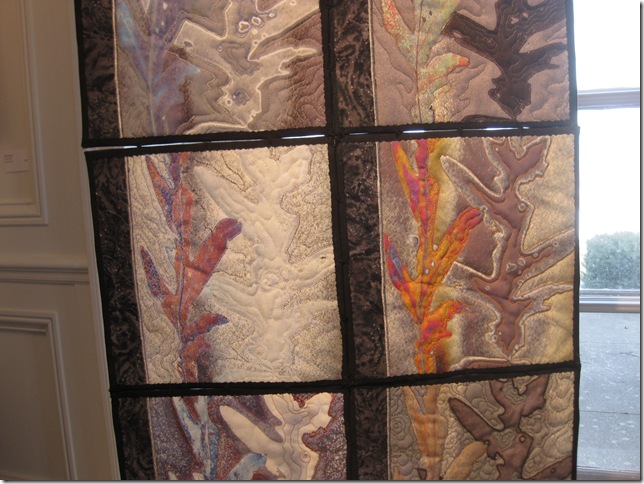
Fiberistic Journeys; by Ann Fahl, Robbie Joy Eklow, Rachel Wetzler, Beth P. Gilbert, Denise Havlan, Annette M. Hendricks
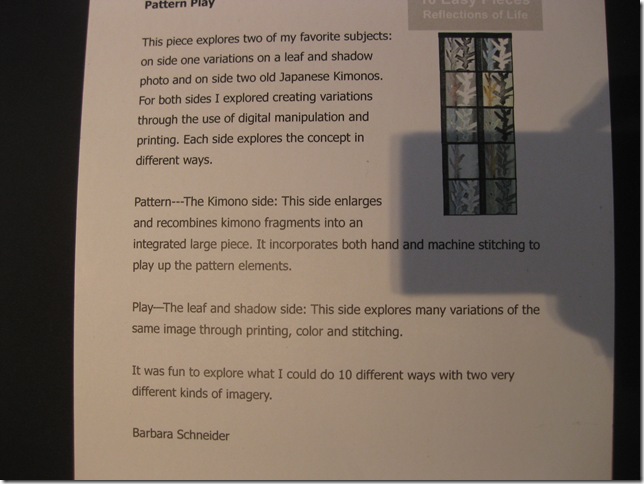
and Women's Journeys in Fiber, Ten Easy Pieces: Reflection of Life

There are  so many great pieces by all of the above artist in these two shows, one of my favorites was by Barbara Schneider a former PAQA member. If you get the chance to go to Kenosha WI,  the exhibit is definitely worth a visit.

IMG_3615 IMG_3616

Wednesday, March 10, 2010

Jack in the Pulpit

3 comments

My quilt Jack in the Pulpit has been accepted into the AQS show in Paducah this year. Unfortunately I will not be there to see it hang in the show. If you are going to the show please take a picture of it hanging and send it to me, get in there with it too so I can see your smiling faces.  Gooday mate, I will be off to Australia to teach at the Australian Quilt Convention and Expo

fanderson_full_jack

Monday, March 8, 2010

Quilt WOW

0 comments

I have an article this month on the internet magazine site QUILT WOW. You can preview their site and see some of the great stuff going on. I hope you check it out.

Using decorative blades in your quilt art.

IMG_0012 colorsoffall andersonf2

Welcome to Workshop on the Web, a quarterly publication exclusive to the internet, featuring the very best tutors from all points of the compass, giving step-by-step details of textile techniques and ideas for using those techniques creatively. Machine embroidery, hand stitching, mixed media work from metals to the latest developments in plastics technology and beyond - you'll find it all here. We review books and products and keep you in touch with all that's new.
And now it's even better. In the last issue,we merged our sister publication Quiltwow into Workshop on the Web. This gives you lots of extra workshops as well as the existing exciting and innovative articles we already bring you in Workshop on the Web. All for the same price of 15.50 pounds for a whole year's subscription (about US$25). Even more reason to sign up.

Saturday, March 6, 2010

Daffodils

2 comments
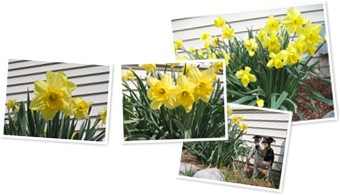
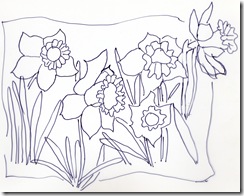
So much of what I make in my art is influenced by my surroundings. My pattern Daffodils is a direct result of spring time in my garden. Even though there is still snow on the ground and the temperatures  are only in the 40’s the brave daffodils are already poking their heads up.
IMG_3594-1 IMG_1215
Soon they will look like this. Granted this bed is up against my south facing house, so they get lots of protection and warmth, but just last week this bed was covered in snow.
I draw lots of sketches of the flowers and then I start playing with my fabrics to decide what colors I want everything to be. When the colors finally strike my fancy they become my art work.
daffidil IMG_00171 This is my pattern “Daffodils”
IMG_1044
and all of my patterns have little tiny versions that are 8.5” x 11”. That way you  use up your left over fused scraps to make the small versions and nothing is wasted. The tiny versions are just so precious and they make great gifts too.
And finally I made
anderson_spring_full
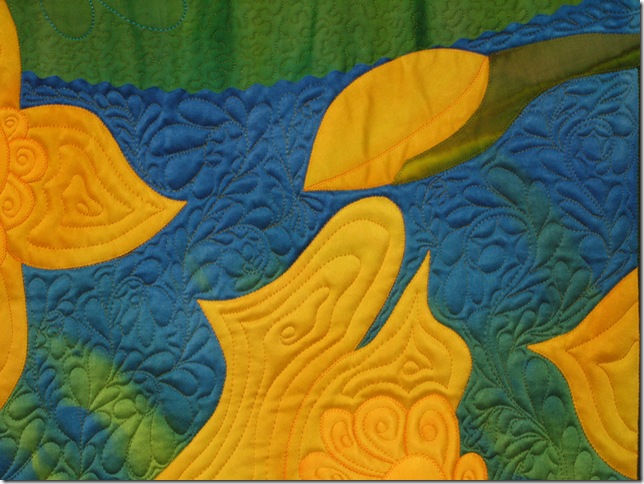
“Springs Greeting” 40” x 50”. The flowers and background are done in silk. The border and leaves in my hand dyed cotton.
I know I am ready to see their cheery faces again and be done with winter.

Wednesday, March 3, 2010

Self Threading needles

2 comments

I use these self threading needles every day when I am sewing. I want my quilts to be very crisp in appearance and I find these needles indispensible when I bury threads as I am quilting. They help me keep that neat crisp surface on my quilt designs.

IMG_3583 

The special this month on my website is a packet of free needles with every order over $25. If you have never tried these needles it is well worth having them in your arsenal of tools. I will also have them in the booth at the International Quilt Festival in Chicago. My booth – Chicago School of Fusing Pattern Works #1123. I hope you will come by and say hello. I will also need a break to run to the ladies room!

Print this page