Wednesday, May 30, 2012

How do you quilt that?

3 comments
When I teach my small art quilts I always talk about the final quilting on my designs. Deciding on the quilt design is the hardest part of quilting for me. I love picking colors, I love making the designs, I often dread thinking about the design. I love the quilting though.
This is what runs through my mind - What will make this jewel sing, will I like it when I am done?
Here are a few tips that help me along with that process.
1. I keep and use many small samples of “quilt sandwiches” under my sewing machine.
These let me very quickly and easily practice a design and “test” out my thread choices.
I can quickly try something new and experiment with an idea.
2. I use clear plastic and a marker to try a design on the top of my quilt before I put it on the actual quilt itself.
But if you haven’t been able to take one of my classes (you could have me to your guild to teach), I thought I would talk about quilting the little pieces from my class Trumpeting Spring.
I really enjoy the process of machine quilting, and working on small quilts like the ones in Trumpeting Spring is the perfect place to practice your skills.
Like everything in life the more you do it the better you become, or at least you learn a few tricks of the trade.
So let’s start at the beginning.
  • The first thing I do when I finish a quilt top is to put it up on one of my design walls and look at it for a while before I start to quilt it.
  • I think about what would look good on it as far as the quilting goes.
  • Once I am ready to start quilting I make a sandwich of it with my batting and backing fabric.
  • I like to steam press my batting before I use it.
  • I also like to use spray starch on the backing fabric before I sandwich it into a quilt.
It takes all the extra wiggle out of the background fabric if I starch it. It also slides easier on your sewing surface.
  • If I am going to put a binding on it I don’t square it up until I am done quilting it. Why you might ask.
Well it is so much easier to quilt it if I have extra fabric to hold on to and places to run my quilting out.
I do however mark areas were it will be important to know what the final size is. That would be if I am putting a specific design in the area I want to make sure it fits and that it also doesn’t go outside the area I am planning on cutting away.
IMG_0018
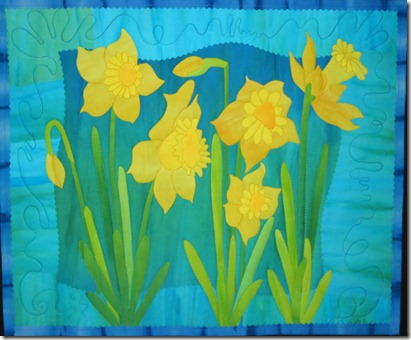
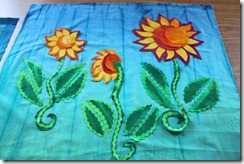
The quilting on this 16” x 20” pattern Daffodils, is very minimal. I like to do stitch in the ditch, right next to not on top of the design elements (design elements are the leaves, flowers etc.). I do this two ways.

For straight areas I use my feed dogs up and a straight stitch and let the machine run very smoothly up the edge of the straight line, like the areas of the stems.
For all the other curved areas I switch to a free motion foot and do the outline stitching free motion. When I do that I am sewing relatively slow, so that the needle stays right next to and close to the area I am working on. 
Notice there is no background stitching on this quilt. It really didn’t need it. The fabric colors are so pretty why dilute that. 
I did add in a very funky wiggly line to the border fabric. This is one of the few times that I use a marking tool. 
I used a chalk pencil to mark that fun wiggly line so that I could follow it and also the line made sure it was in the area I know I was not going to cut off when I squared up the quilt. 
I like using a chalk pencil for a simple design like this, because by the time you finish quilting it most of the chalk has disappeared.
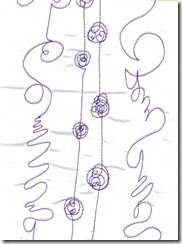
squiggles 
This is the page of that design from my book that each student gets in my Machine Quilting Class.

Monday, May 28, 2012

America

0 comments

I am proud and happy to live in such a great country.

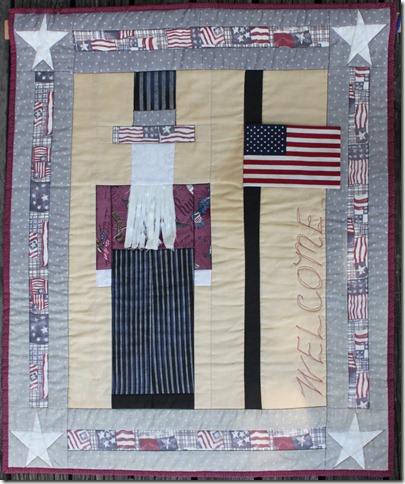
IMG_2779

I made this little quilt for the first time over 20 years ago. It hangs on my front door from Memorial Day to Labor Day.

All the fabrics have held up really well, except for the blue stars in the border. It does not get any direct sun, but just the light from the day has faded the blue.

It is a fun little quilt to have at my entry. I think I will have to remake it soon.

Hope you are having a great holiday weekend.

Happy Quilting.

Friday, May 25, 2012

Now, Get 81 Machine Stitching Tips–from Quilting Arts

1 comments

Now, Get 81 Machine Stitching Tips

You've heard the old adage “practice makes perfect,” right? The same goes for free-motion stitching. It takes time, patience, and commitment to get those stitches smooth and even, and to make your quilt motifs to look impeccable.

frieda anderson free motion stitching

Free-motion stitch pattern by Frieda Anderson.

In this free eBook, our most popular, we've added 14 new tips to help you learn and how to thread sketch or improve the skills you already have.
In Free-Motion Machine Quilting Techniques: 81 Tips for Free-Motion Quilting, Thread Sketching and Quilting Motifs, three highly respected quilt artists, Frieda Anderson, Robbi Joy Eklow, and Susan Brubaker Knapp share their knowledge and expertise for successful free-motion quilting and thread sketching.


Frieda starts by explaining the machine quilting supplies you need and gives you a free-motion quilting tutorial on basic quilting motifs. Once you've practiced with those, she introduces you to some more complex machine quilting patterns and shows you how to incorporate these quilt motifs into a design.


Next, Robbi Joy Eklow offers her own perspective on machine quilting techniques, revealing her favorite machine quilting supplies, her machine quilting patterns, and her tips for machine quilting success. Robbi also shows how using variegated thread in your free-motion quilting can enhance the quilting motifs and make the entire quilt design pop.

Detail of thread sketching on
"Magic Beans," by
Susan Brubaker Knapp.

Finally, in the new section, Susan Brubaker Knapp shows you how to use free-motion stitching for thread sketching, which is like using the needle like a pencil to draw designs and add shading. Her added tips will really help you become a free-motion stitching master!


You'll find a lot of useful information for how to machine quilt in this booklet. Download Free-Motion Machine Quilting Techniques: 81 Tips for Free-Motion Quilting, Thread Sketching and Quilting Motifs now, for free, and keep it near your sewing machine as a handy reference guide.

Do you have friends who would like to improve their free-motion quilting and thread sketching skills? Forward this link to them so they can download their own copy of Free-Motion Machine Quilting Techniques: 81 Tips for Free-Motion Quilting, Thread Sketching and Quilting Motifs.

Wednesday, May 23, 2012

Strips and Stacking

5 comments
If only I was a supreme being, think of all the exotic flowers I could make.

Well, I kind of am. I can make my flowers anyway I want, any color I want, any shape I want and any size I want. They can have all kinds of do da’s and extra stuff on them.

But I digress. Let’s just talk about the Tulips and Daffodils from the other days post.

To make the Tulips and Daffodils for the class Trumpeting Spring that I taught last week in Saginaw, I use a few simple tricks of “fusibility” (I made that word up) to help make it easy and efficient to make my flowers. 

IMG_0674
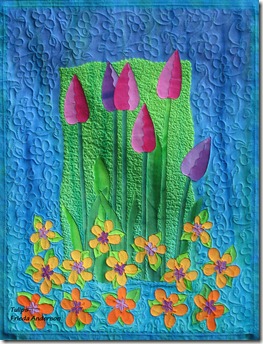
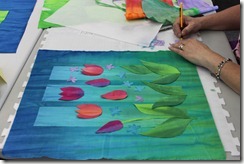
To create the tulips on my quilt “Tulips” I make the design down the middle first.
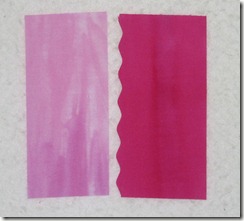
  1. Remove the release paper from two fused fabrics, one light one darker for the tulip flower head.
  2. Cut from each fabric color 1 rectangle that is 1” x 3”
  3. Cut on the long edge of the darker colored fabric using a wavy decorative blade in your rotary cutter.
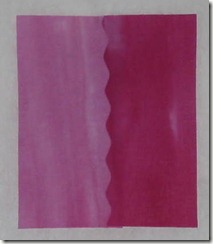
  4. Place the darker fabric about 1/8'” over the lighter fabric on a piece of release paper and tack fuse together.
    Tack fusing is using a hot iron for just a few seconds on the top to hold the two layers together.
  5. IMG_0666
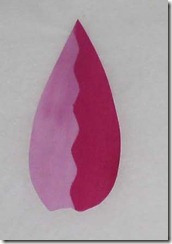
  6. Trace the shape of your tulip onto a piece of release paper using a mechanical pencil.
  7. Place the pencil side of the paper against the fused side of the combined rectangle and press with a hot dry iron to transfer the shape to the back of the fused fabric.
  8. Remove the paper and cut out with a small rotary cutter or very sharp scissors.
  9. 11onetulip_fa

Creating designs this way is so easy. And it makes designing fun, like a game.

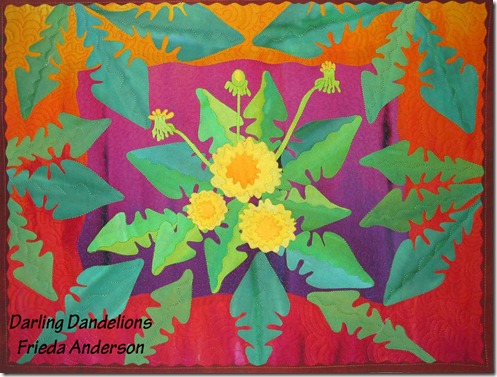
Check out these leaves in my Darling Dandelion quilt from my book Fun Fast Fusies.
New Dandelion for upcoming Book Fun Fast Fusing with Frieda

The ones behind the Dandelion are made the exact same way as the tulips.

First cutting out two rectangles of different colored fabrics and then fusing them together to make a base unit and finally cutting out the leaf shape from the base unit.

Making the flowers on the Daffodil’s quilt is really simple.

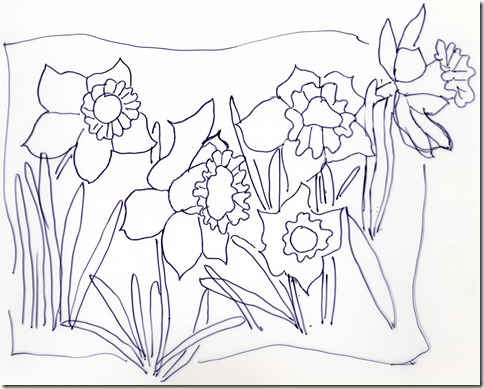
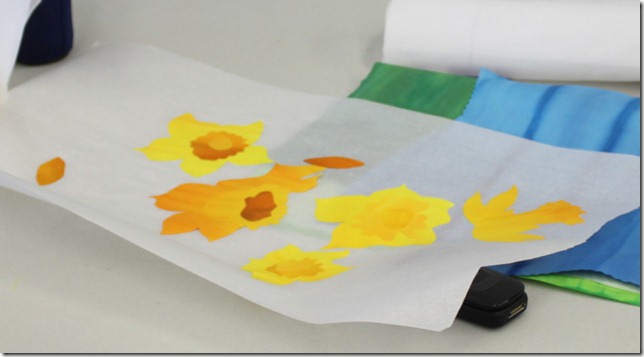
Use the same technique for transferring a pattern as I did for the tulips.

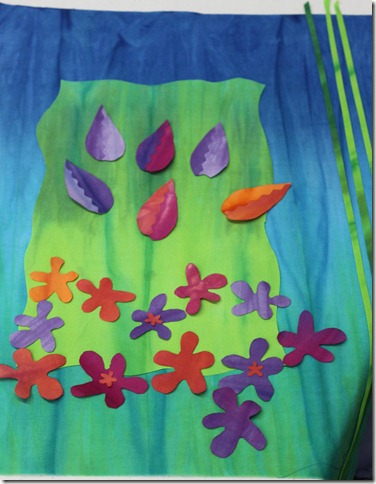
For each flower place the release paper over the pattern and stack the different sections one on top of the other, matching them up according to the pattern.
daffidil
IMG_2738

Designing can be liberating and very creative. You just have to let yourself go and enjoy the ride.

Monday, May 21, 2012

Trumpeting Spring

1 comments
The weather here in Chicago land has turned really nice. We are enjoying warm and sunny days with very little humidity. A real gift.

That will all change as the summer progresses, but we aren’t in summer yet.

This past week I taught up in Saginaw MI. We did one of my favorite classes; Trumpeting Spring.

It is one of my favorite because it is a fusing class about Spring Flowers. I am so happy when the flowers begin to bloom in the early spring. I am always ready for warm weather and bright colors. I want to be outside in the sunshine like the flowers after the long cold winter.

FriedaAndersonTulips
Tulips
And Daffodils

Yellow and blue are so happy together. Caryl Bryer Fallert bought a version of Daffodils to hang in her yellow and blue studio. Are you a quilt collector too?

IMG_0018

Tulips and Daffodils are the two patterns students made in class. Bright, cheery and fun. The ideas and inspiration for these two little quilts came from my own garden.
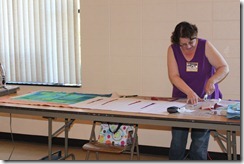
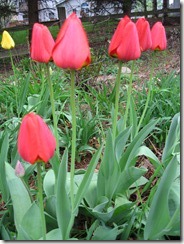
My garden spans the whole width of my back yard and I have Tulips and Forget Me Knots all over the garden in different places.
IMG_0003

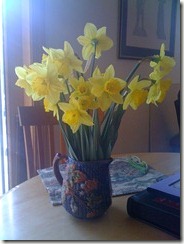
There are beds of daffodils also in the garden, but I have a great big bed of them under the family room window that faces south west. These are the very first flowers to bloom in the spring. I always pick a big bunch to have on my kitchen table to make me smile.

IMG_0268

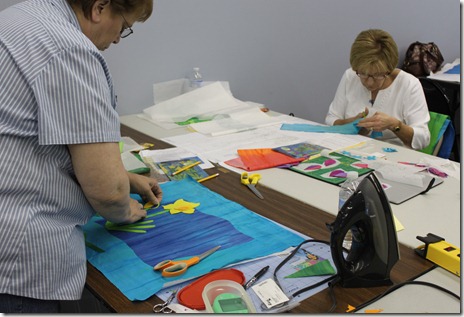
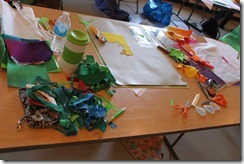
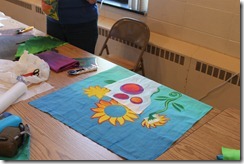
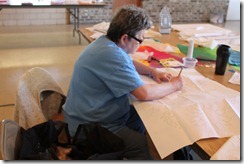
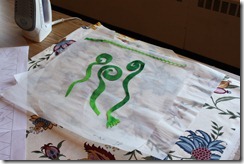
Here are a few pictures from class. Everyone had such a good time and did such a beautiful job. Of course my gorgeous hand dyed fabrics always make these so beautiful.
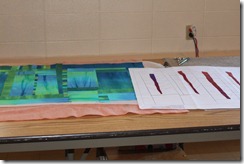
IMG_2732
IMG_2733
IMG_2739
I hope you have a bright, cheery and fun quilting week.
 

Friday, May 18, 2012

Dancing with your ideas

3 comments
I struggle with the names of my quilts.

Some people are so lyrical, but for me language does not come easily. I see the world in images not words.

When I made this quilt I polled my blog readers to get ideas for it’s name and you graciously helped me out.

I think the name is perfect. SUNDANCE
sundance
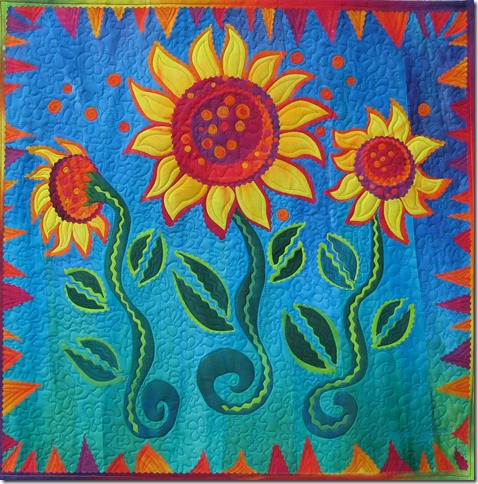
This is the perfect project to use those decorative blades on. I have used the pinking blade and the wavy blade in my rotary cutter to help create this design and give it such liveliness.
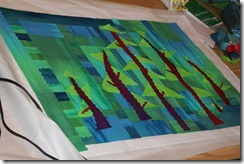
I recently taught this fusing class. The students get to use my hand dyed fabrics and pattern to create their own version of this fun wall quilt.
I don’t know how you could make this design without fusing the fabrics first.
IMG_2718IMG_2719IMG_2712
IMG_2706IMG_2713IMG_2716
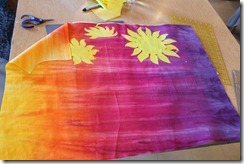
Placing the yellow flowers on darker fabrics and “shadowing” them gave me the elements for the triangle borders.

The triangle border was not  planned but evolved from the cutaways when creating the shadows behind the flowers.

Each quilt has it’s own rhythm and character that happens while you are making it.

You only have to give it a chance to grow and speak to you as you work on it.

Let the ideas dance around and feel the freedom of playing with them.

Enjoy your weekend.

Wednesday, May 16, 2012

Building ART Quilts

3 comments
There has been some discussion lately about what is an “ART” quilt.

It is my understanding that an art quilt is any quilt that is not a  “traditional” quilt made from standard blocks or patterns.

When I started quilting way back in the 1970’s I started with those kind of quilts. My first quilt ever was a scrap quilt made with 5” squares, then a log cabin quilt, spider web strip blocks and pine tree squares. I still love all traditional tree blocks.

My first “series” of original quilts was a variation on the pine tree block. November, December, January and February. Those were pieced quilts. But I soon turned to fusing to create my quilts and what follows are some pictures from teaching one of my fusing classes. When I fuse I use WonderUnder #805 by Pellon. It is on sale this month over on my webpage.

Quilting in Sault Ste Marie Michigan


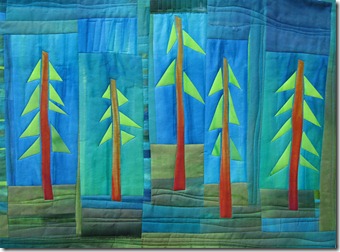
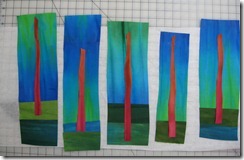
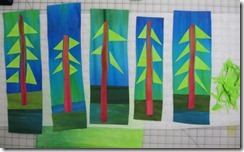
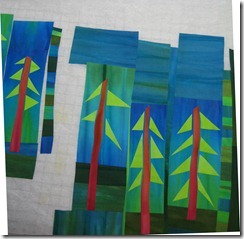
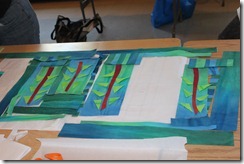
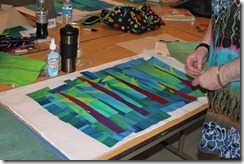
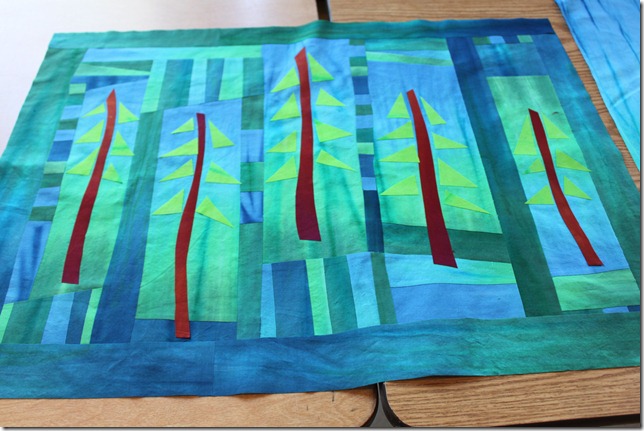
This past week end I taught way up in the UP, Upper Peninsula of Michigan. The students made their version of my fused pattern Duluth Trees using my hand dyed fabric kits.

Just a few pictures from class.
2duluth-1
Duluth Trees
step onestep twostep threestep fivestep sixstep seven8

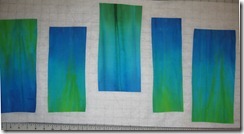
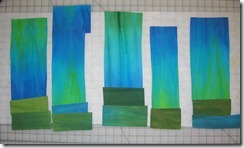
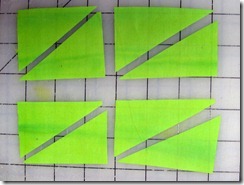
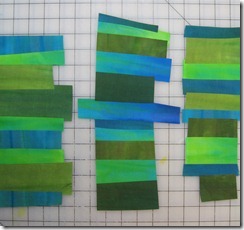
The above photos are my step outs for the class, here a few of the students working on their quilts.

IMG_2699IMG_2701IMG_2702
IMG_2696IMG_2698
IMG_2717

It is always a challenge, but also fun, to step outside the defined box and create something new and exciting.

ART quilting.

Challenge yourself to make something uniquely your own.

If that scares you, start by making something that is outside your defined box, like my Duluth Trees and then go from there.

Happy Quilting on this bright sunshiny day.

Monday, May 14, 2012

Aspen Leaves

1 comments
I love trees and leaves, I know I have mentioned that before. I am constantly looking at them when I am out walking or driving. And they are in my work everywhere.

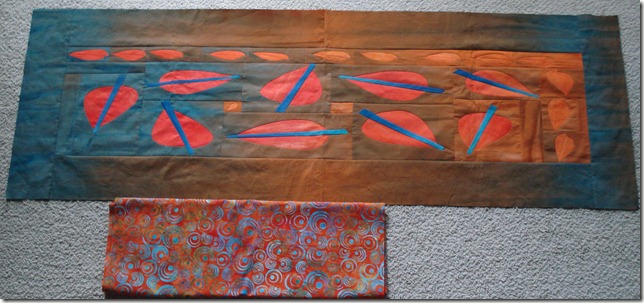
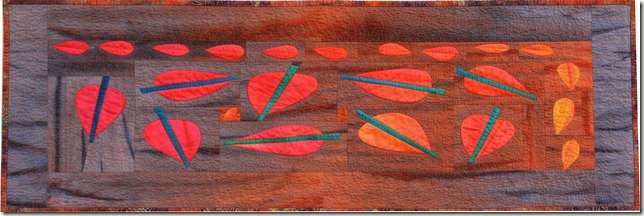
Lois bought the hand dyed fabric kit for my pattern Aspen Leaves, this is my pattern that was also in the book Skinny Quilts II – in the book it is called Blushing Aspens. This is a PIECED pattern, can you believe I pieced this, and yes I did and truly enjoyed doing it. I like to piece as well as fuse. Go figure.

Here is the top she made and the binding and backing fabric she choose to go with it. The batiks Lois picked to go with my hand dyed fabrics is perfect!!

Thanks for sharing Lois.
loisflannery
aspenleaves
My version.

Happy Quilting out there.

Saturday, May 12, 2012

Woodland Treasures

1 comments
You can now watch my interview about my prize winning quilt at the QUILT SHOW.
In this video, Frieda Anderson (Episode 705) talks about her amazing quilt, Woodland Treasure, which took home a ribbon in the Small Wall Quilt category at the AQS Show and Contest in Paducah last month. You can catch more of Frieda in September when she'll be teaching Little Fused Quilts with Laura Wasilowski in the TQS classroom.
Enjoy

Friday, May 11, 2012

Easy Piezy

3 comments
How to transfer a design without reversing it.

This is very easy with fusible web on the back of your fabric. WonderUnder is on sale on my website this month.

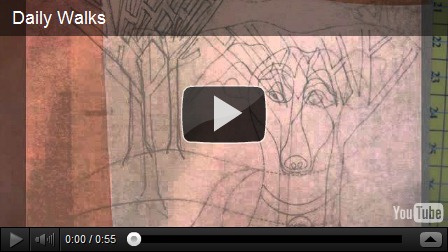
Follow along the pictures below. This is from my book Fabric to Dye For, a little quilt called Daily Walks, a quilt about George, my dog.  You could make this a portrait of your dog instead, just change how the dog looks a little to look like your mutt.

Transferring design to the backside of fused fabric.

1. Apply fusible web to the back of your pre-washed fabric with a hot dry iron.

2. Allow fusible web to cool.

3. Peel off the “release” paper, that is the paper that sits on top of the fusible web.

4. Place the release paper over your design.

5. Use a sharp pencil or extra fine sharpie marker and trace design on top of release paper.

6. Place the marker side of the design against the fused side of the fabric and press with a hot dry iron.

7. Marker will transfer to the back of your fabric.

8. Cut out design and apply it where it belongs.

EASY PIEZY
Happy Quilting.

Wednesday, May 9, 2012

Fusing for the uninitiated

5 comments
As you may know I am a fuser. In fact I am a member of the Chicago School of Fusing. I am Dean of Technology.

As Dean of Technology I help with all technical issues.

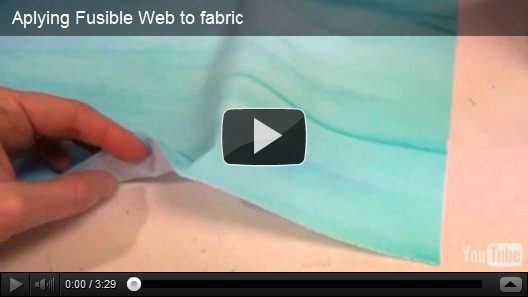
I will now help you apply fusible web to your fabrics the CORRECT way.

Follow along.
Applying Fusible Web to your fabric
I hope that helped you to apply the fusible.

Next time, transferring designs.
Happy Quilting.

Monday, May 7, 2012

Surface Explorations Volume 1 eMag

0 comments
Quilting Arts has a new venture. They are always coming up with new stuff. And here it is…

Welcome to the premier issue of Surface Explorations! This eMag presents an interactive look at surface design and offers techniques such as screen-printing, dyeing fabrics, rusting, and more. New and well-known artists bring their tips, tricks, and favorite techniques to you through slideshows, videos, and photographs that you can pan and zoom. Get up close and personal with each project by enlarging photos to see the tiniest details. Pause and replay videos for virtual private lessons from nationally known and fresh, new artists. As you work along in your studio space, these are just a few of the great benefits of Surface Explorations.
Don’t just read it, experience it! Explore Surface Explorations with great features like:
  • The Great Dye Experiment: Cotton vs. Silk with April Sproule
  • Thermofax® Screen Printing: The mysteries of Thermofax explained with Lyric Kinard
  • Rusting to Create Texture and Timeless Images: Designs in decay from rusty metalwith Laurie Brooks
  • Screens & Stencils: Two Ways to Have Fun! with Leslie Tucker Jenison
  • And so many more!
With an array of videos, interactive slide shows, and lessons in surface design, Surface Explorations is the perfect new studio tool. Download this amazing eMag today and start exploring the surface!

This is an E MAG, so you pay a small fee to download and print only the parts that you want.

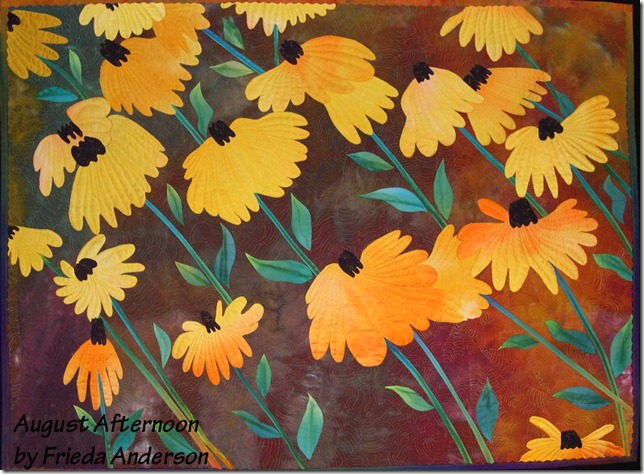
I have a quilt in this issue, so I hope you will check it out and support this new venture.
augustafternoonFA

Friday, May 4, 2012

National Quilt Museum

1 comments
The National Quilt Museum in Paducah KY is a wonderful place. I enjoy visiting it every year when I go to the show.

They make sure that each year they have many of the different show winners on display. They seem to show different ones each year.

They also have several special exhibits in the museum at the time of the show. This year the exhibits were-
  • acCent! Art Quilts of the UK
  • New Quilts from an Old Favorite 2012: Baskets
  • Antique Basket Quilts
  • Oh WOW! Miniature Quilts
If you get a chance to visit it is always a special treat.

I really loved the basket exhibit, people are so creative in their interpretation of a theme.
And the Art Quilts of the UK was spectacular!!

This year I attended a reception at the NQM to celebrate the PAAQT – Professional Association of Appraisers – Quilted Textiles, 20th anniversary. While there they reminded us how important it is to support the arts and in particular this wonderful venue.

By the way every time I have a quilt in a show I have it appraised. It is a good idea and so easy to do at the shows.

I am going to become a “friend” of the museum.

I will be teaching a three day fusing collage workshop there July 19-21, 2012.

Fused Art Collage and Machine Quilting - In this three day class, students will learn fusing basics and beyond to become competent and happy fusers. Strip fusing, collage building, weaving, layering and the use of decorative blades are just a few of the techniques students will explore in this fun & liberating class. Cost: $374/$345 Friends.


For all of you who keep asking me where I will be teaching, this is a great opportunity to visit this charming neighbor hood and take a fun fusing class.
I hope to see you there.
whisperingpines

Wednesday, May 2, 2012

OOPS

8 comments

I got in trouble showing you all the video of the quilts at the AQS show. There was a complaint by someone so I have removed the video.

I was only trying to show the people who don’t get to attend the show some of the fabulous quilts. I was not using it in any commercial way. Please accept my apology.

Print this page