Tuesday, January 31, 2012

Are you a Dandelion?

4 comments
Doing something that not everyone understands.

I have long thought that the lowly Dandelion is much maligned as a flower. It is one the prettiest yellow flowers that exist in nature and it’s bloom is so sunny, velvety and bright.

I found this on the internet about Dandelions and if you want to read more about the Dandelion you can here.

Dandelion Overview:

  • While many people think of the dandelion (Taraxacum officinale) as a pesky weed, herbalists consider it a valuable herb that can be used as a food and medicine. Dandelion is a rich source of vitamins A, B complex, C, and D, as well as minerals such as iron, potassium, and zinc. Dandelion leaves are used to add flavor to salads, sandwiches, and teas. The roots are used in some coffee substitutes, and the flowers are used to make wines.
  • Traditionally, dandelion roots and leaves were used to treat liver problems. Native Americans also boiled dandelion in water and took it to treat kidney disease, swelling, skin problems, heartburn, and upset stomach. In traditional Chinese medicine, dandelion has been used to treat stomach problems, appendicitis, and breast problems, such as inflammation or lack of milk flow. In Europe, it was used in remedies for fever, boils, eye problems, diabetes, and diarrhea.
  • So far, there have not been any good quality scientific studies on dandelion. Today, the roots are mainly used as an appetite stimulant, and for liver and gallbladder problems. Dandelion leaves are used as a diuretic to help the body get rid of excess fluid.
Plant Description:
  • Hundreds of species of dandelion grow in the temperate regions of Europe, Asia, and North America. Dandelion is a hardy perennial that can grow to a height of nearly 12 inches. Dandelions have deeply notched, toothy, spatula-like leaves that are shiny and hairless. Dandelion stems are capped by bright yellow flowers. The grooved leaves funnel rain to the root.
Dandelion flowers open with the sun in the morning and close in the evening or during gloomy weather, just like ME.

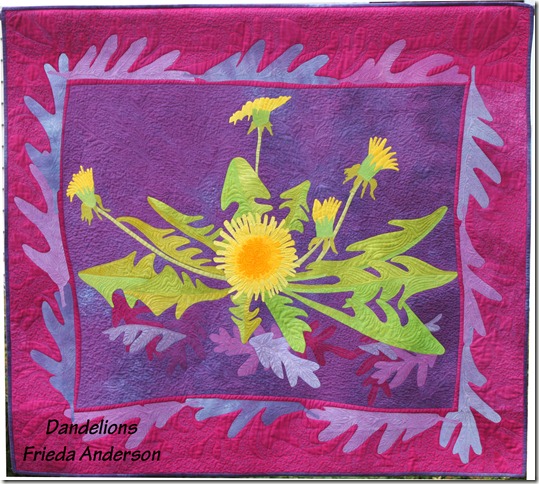
I was still piecing many of my quilts when I made my first fused art quilt  - Dandelions.fanderson_dandelion_full2
Because I used the natural colors of the Dandelion I wanted to use a color behind them that would really make them pop and wow. The purple was a beautiful choice.

Dandelions greet me almost 9 months out of the year when I go into the woods near my home. My little woods is a natural old oak savannah so everything that grows in there grows up out of a bed of old dead oak leaves. Therefore I had to put the Dandelions on a bed of oak leaves. I like the idea that the leaves are not “brown” and dead looking. I feel as if the oak leaves are giving LIFE to the new Dandelion plant that is popping up out of those leaves.

I like to put borders on my quilts. I am influenced in my choices by liking traditional album style quilts. Many of those traditional quilts have flower or leaf borders. My border of oak leaves is just a little more modern.

Dandelions was the first quilt I made into a pattern. Since the original quilt was large at 40” x 50” when I made it into a pattern I called it Petite Dandelions. It seemed appropriate to me at the time.
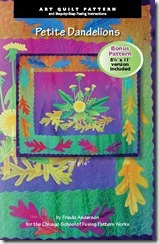
Frieda's covers Dandelions
Petite Dandelion
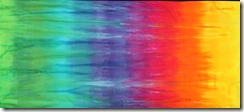
  • This little quilt is made with one yard of my Rainbow stripe fabric.
  • You use different sections of the fabric for all the different parts.
  • I used the pink to purple part in the middle of the fabric for the background behind the dandelions.
  • I used the green end for the border fabric, leaves and stems, and I used all the other colors for the colorful oak leaves in the border.
  • And of course I used the bright yellow for the sunny dandelions themselves.
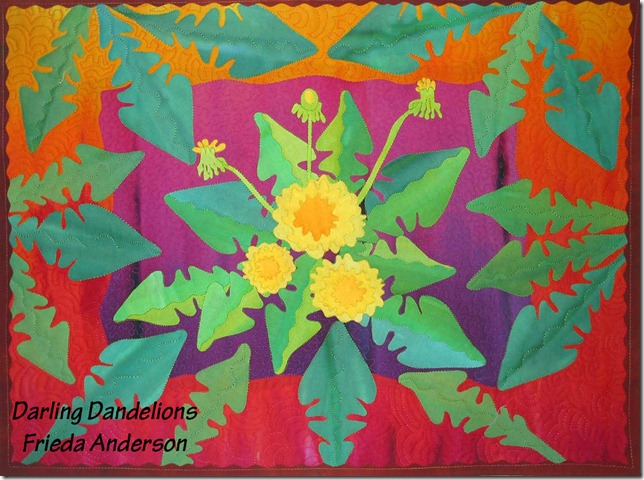
New Dandelion for upcoming Book Fun Fast Fusing with Frieda

Darling Dandelions is the pattern that is in my book Fun Fast Fusies. I used the wavy decorative blade to make the two tone leaves in the middle of the quilt behind the more abstract looking Dandelion flowers.


Are you a Dandelion? Doing what everyone else thinks is out of place? I like that I am a Dandelion.

Be sure and check out Laura's Nancy's Notions E-book tablet keeper. It is her turn to reveal today.

Today is the last day to receive a free quarter yard of fabric for signing up to follow this blog. Tell all your quilting friends.
Monday, January 30, 2012

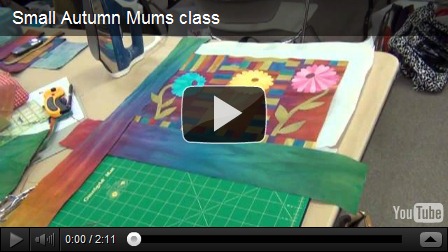
Small Autumn Mums - a fused collage class

6 comments
I just returned from teaching near Grand Rapids MI at the Western Michigan Quilters Guild.

I thought you would like to see a quick tour of one of my fusing classes – Small Autumn Mums.

A quick view of my fused collage class–Small Autumn Mums

Those quilters in Michigan sure do know how to have fun, and we had a fun time making the smaller version of my pattern Autumn Mums. A fused collage quilt.
dropshadow

Friday, January 27, 2012

20% Sale–Last Week

0 comments

May you always continue to find both the inspiration and the time to create!

For the month of January I am offering 20% of all fabrics, patterns, and notions!!  This is your LAST WEEK of the sale!

What better way to start the new year than buying some special fabric for that new project. Prices haven't been this low since 2007.

Spend a little of that holiday loot on something YOU really want. Luscious luminous hand dyed fabric, books, patterns and notions.

Getting you in Shape to work


Get your studio in shape to be creative this year.
Keep and buy the things you need and clear out the stuff that you don't.
I have been cleaning, organizing and DE cluttering my studio space. If you missed it last week I did a tour of my studio.
A big part of this is letting go and getting rid of as much as I possibly can. It feels good. I have had a few good purging sessions, and what a difference it makes. It feels so nice to have a fresh start for the new year. I am dreaming of what I want my creative space to look and feel like. Change is good, and it is time for some change.

Here are a few ideas to get you started-


- reflect
What it was you did over the past year. I try to journal (not my favorite thing) and look at my goals regularly
Make that list of goals & to dos but be specific about it.

- Define success
What worked for you last year?
What didn't work for you?

- Commit
List four projects that you want to get accomplished
Set a time map for doing these projects. Write them on a calendar or create Pinterest account to guide your vision for creativity for 2012. Work on this over a period of time, say10 days, letting it morph and then develop it into an action plan.

- Go for itDon't wait for inspiration to strike. JUST DO IT!

- Identify and personalize strategies
Schedule regular time in the studio.
Turn off the phone and computer for at least an hour a day so that you can concentrate on your art.

- Create good habits
I look at creating art as my job and I treat it that way.
I keep regular studio hours

- Release what isn’t serving you
This is a hard one, as change takes effort. But if you can identify what isn't working and make a clean break, then do it.

- Set boundaries


ART Quilts - Fusible Collage
This past year Laura Wasilowski and I filmed three new episodes with Nancy Zieman of Sewing With Nancy.

These episodes are now airing, but you can have them right in your own home by owning the DVD.
Along with the TV series is a great new book from Sewing with Nancy called Art Quilts - Fusible Collage which is co-authored by Laura Wasilowksi, Nancy Zieman, and myself. It contains several great projects as well as all of the different collage-style methods of fusing that Laura and I use.

Order the book today. It is a 3 ring binder with laminated pages that you can pull out.

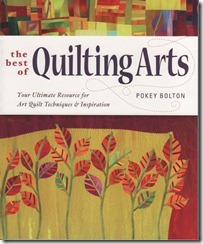
The Best of Quilting Arts
Quilting Arts has come out with a fantastic new book, The Best of Quilting Arts. It celebrates the first 10 groundbreaking years of QUILTING ARTS magazine with a collection of its best articles, projects and techniques including:
• quilt art techniques from fabric collage and appliqué to resist dyeing, stamping, and foiling;
• machine-stitching and thread-painting tips and tutorials from award-winning art quilters;
• ideas and advice for the professional quilt artist;
• an array of binding and stitching techniques to make your art quilt stand out;
• methods for making realistic representational art quilts, including portraits of pets and people.
And, I'm on the cover as one of the cover girls with my quilt Dancing Trees. Such an honor!!

Scan.BMP

Work Schedule
I am working all over the world again this year. You can see if I am close to you by looking at my web site under schedule. If you are close to any of these places, please stop in and say hello. I always love seeing, meeting and sharing with my quilting companions. Or ask your guild to bring me there to teach or lecture, I love to travel.

My thanks
Thank you for being a loyal customer and friend. I hope you will share this blogpost with your quilting buddies and become a follower on my blog too. It is free and will give you daily tips, techniques, and information that you can use in your quilting adventures. Everyone who signs up for my blog or gets a friend to sign up for it will receive a free 1/4 yard of my gorgeous hand dyed fabric. Just send me your name and address.

HAPPY NEW YEAR 2012 and add a little color and excitement to your daily grind, treat yourself to my 2012 Calendar.

Thursday, January 26, 2012

Use it or Lose it

3 comments
I have three goals for myself as a quilter.

1. I want to someday make a Lone Star Quilt.

I will get there, just not right now. I have thought about the color choices a lot already.
I did do an eight pointed star in a few early quilt design.


This is a pieced quilt called “November, December, January and February. It is 82" x 82"
See that center eight point star and the chevrons that divide the squares, very Lone Star, don’t you think?

2. I want to use up all my fabric before I die. If I don’t use it someone else will. I don’t want all my fabric and quilting equipment to go to the Good Will or for my kids to have a big sale with all my sewing stuff. I want to use that fabric that I dyed or bought. I know I will find other fabric or dye another gorgeous combination that I will love just as much as the stuff that I am “Saving” for something special right now.
USE IT OR LOSE IT

3. I am not sharing my third goal with anyone, not even my DH.

Spring is just around the corner

3 comments
FriedaAndersonTrilliums
There was a TV commercial on the other night that used as it’s hook that spring was just around the corner, I looked at my husband and at the same time we both rolled our eyes.
Come on, spring is a good eight to ten weeks away.
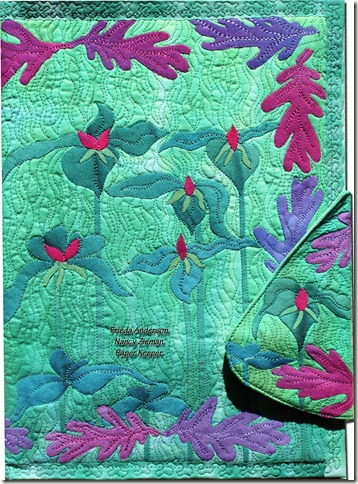
But it got me thinking about spring. It is one of the reasons I made my Paper Keeper for Nancy Zieman using my Trillium pattern design.
I often hear in class where do you get your ideas? And I have shared with you over and over again where I get my ideas – from everywhere.
My pattern Trilliums is a perfect example of that.
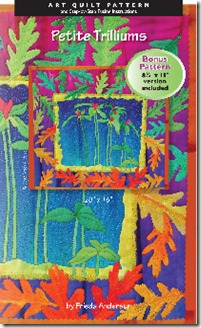
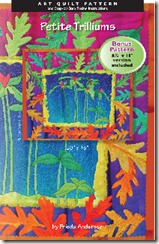
Quilt Covers PTrilliums copy
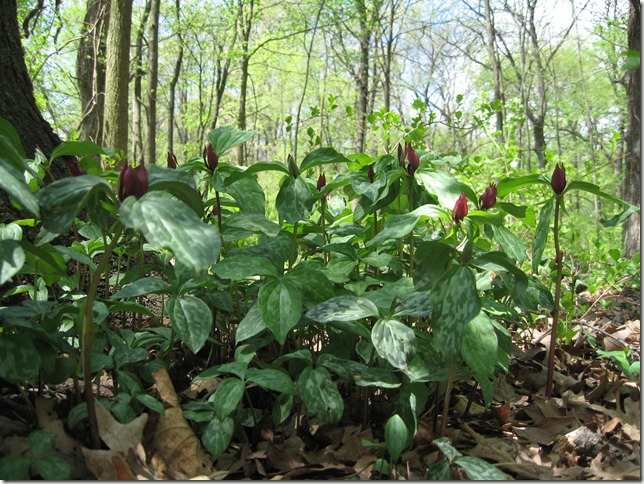
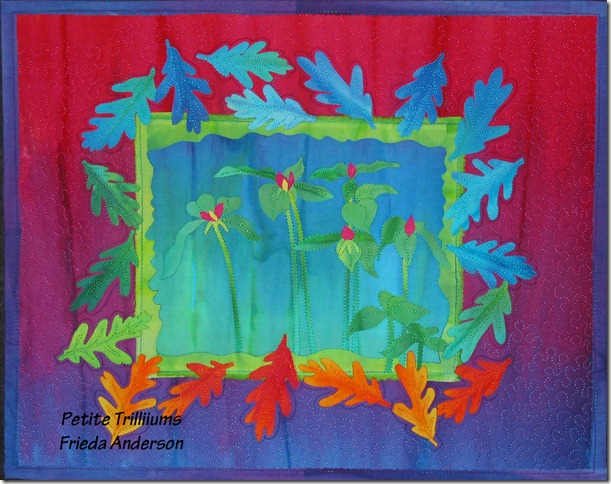
Trilliums are some of the first wild flowers to bloom in the woods. I discovered that the Trilliums in my woods are the most common red kind, but there are all different colors of Trilliums. Years ago I saw huge Celadon light green ones when I visited Spring Green, WI. I would love to have those in my yard.
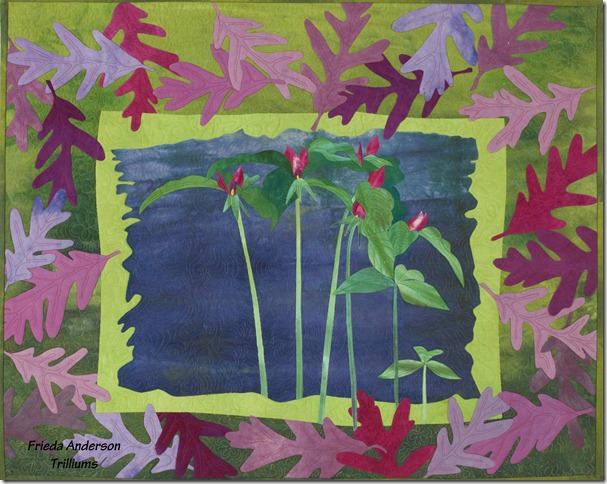
Trilliums was one of my first fused quilts. It measures 30” x 40” .
IMG_0061
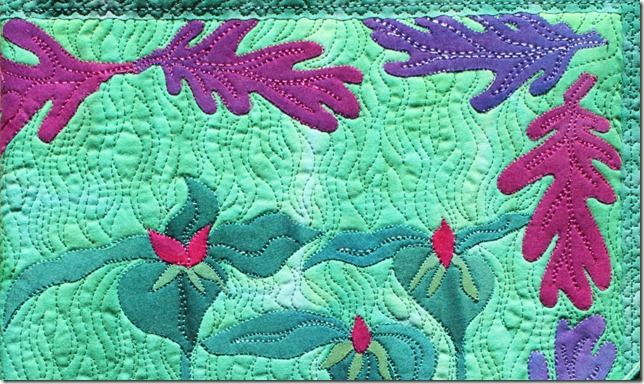
If you notice theseTrilliums are growing up out of a bed of dead old last year oak leaves, so when I designed my quilt I wanted to incorporate the oak leaves in the design. They have now become one of my favorite things to add to my quilts.

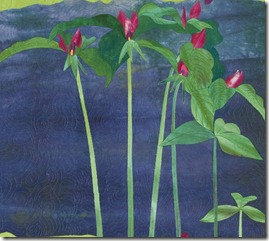
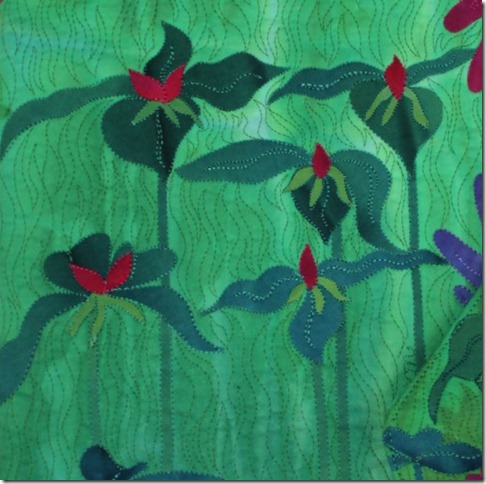
When I first made this quilt I didn’t want to use all “realistic colors”. I certainly used the green and deep pinks for the flowers and leaves, but then I needed something to set them off and let them show up on the background. Frieda_Anderson_Trilliums
After “auditioning” many colors the blue seemed to be just right.

Frieda_Anderson_Trilliums
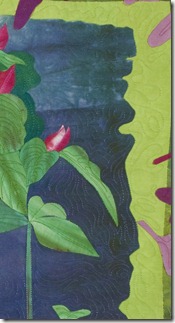
When I added in the first border I picked something that would make the background pop, my all time favorite neutral – lime green.

I have always loved the blue/green/aqua color combination. I think that stems from loving sky, grass and trees.
Frieda_Anderson_Trilliums
But when I went to add in the leaves in the outside border I choose to use the complimentary colors of green – pink, purple, and magenta for the oak leaves. I changed the scale of the leaves to give them more drama and because they needed to be big to even out the composition.

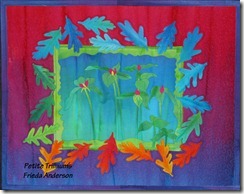
When I started making patterns I made a small version of Trilliums and called it Petite Trilliums. By the time I started designing patterns I was also producing my own hand dyed fabrics.

I used one yard of my hand dyed rainbow gradation to create the whole petite quilt top. The only colors I didn’t use where the yellows on the far right.
IMG_0934
You can see that I used the middle section where the purple, magenta and fuchsia come together for the outside border. I used the area where the turquoise and blue merge to create the background behind the trilliums and I used the greens at the far left for the Trillium stems, leaves and beards. I used complimentary colors for the oak leaves and placed them against their compliment on the outside border.
FriedaAndersonPTrilliums
This is one of my favorite patterns and quilts, I think because I get to see the Trilliums every year and they represent spring, but also because the colors are so clear and happy.

Monday, January 23, 2012

Step by Step

2 comments
Friday I showed you the Paper Tablet Keeper I made using Nancy Zieman’s Trace N Create templates.

Today I wanted to show you the steps to make it. It really was fun and easy and a nice change a pace from what I normally do.

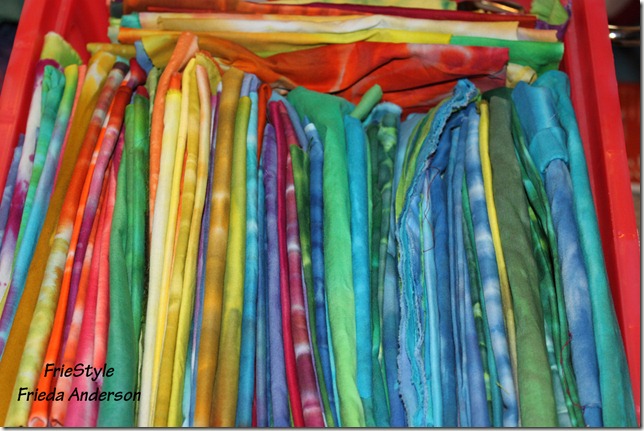
The first step for me is always to find the fabric.
friedafabric
Look at all those gorgeous wicked fabrics. It was hard to pick just one.
One of my goals for 2012 to use as much of this fabric as possible.
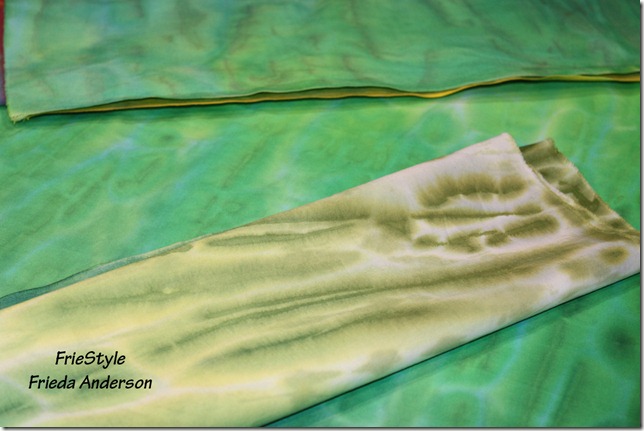
friedafabric2
The green really caught my eye. I thought it looked mottled and interesting woodland like the area the trilliums grow in.
Quilt Covers PTrilliums copy
I had already decided to use my pattern Petite Trilliums for the cover design.

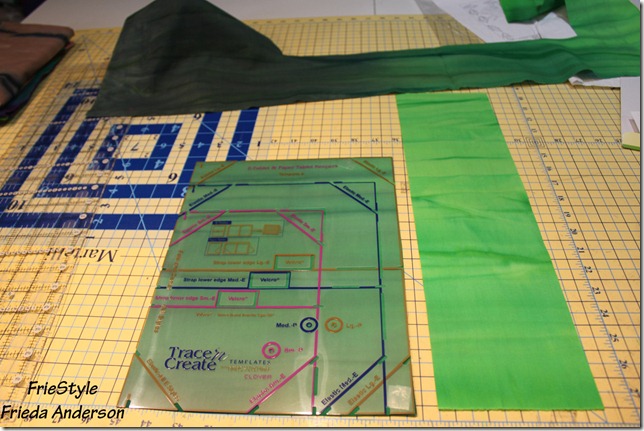
After ironing and sewing two of the fabrics together to make the cover piece I also fused the back of the cover fabric.

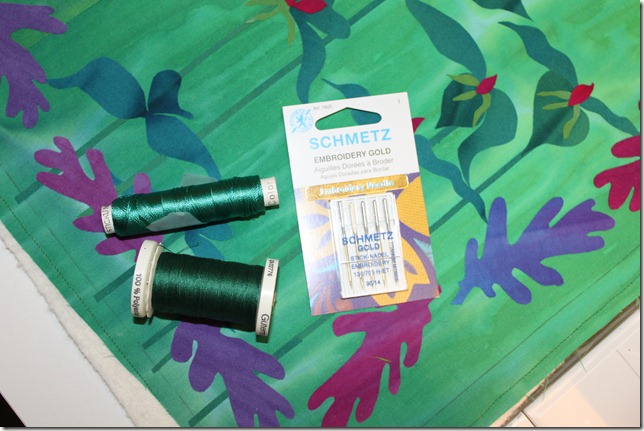
The directions tell you to use a medium weight interfacing but I like the idea of the fusible web. I normally fuse my fabrics anyway. I used the template from the pattern to cut out a slightly larger than the template size background area to create the design. I knew I was going to machine quilt it and the quilting would shrink it  a little so I made it bigger and trimmed it to size when the quilting was done.
friedafabric4

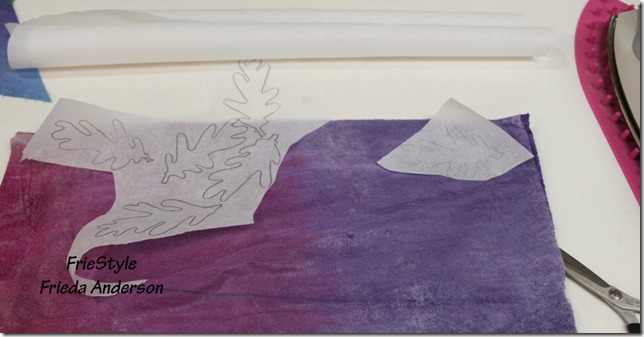
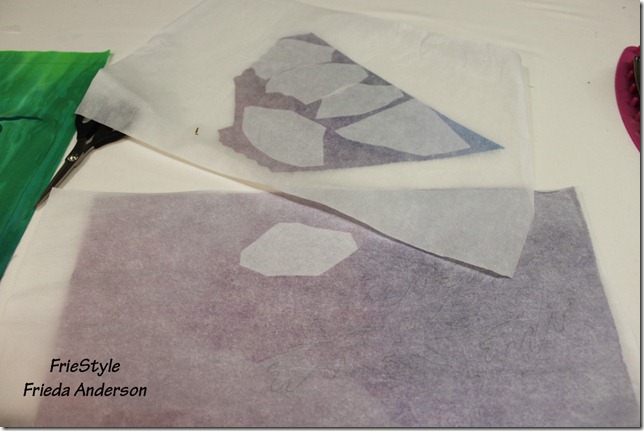
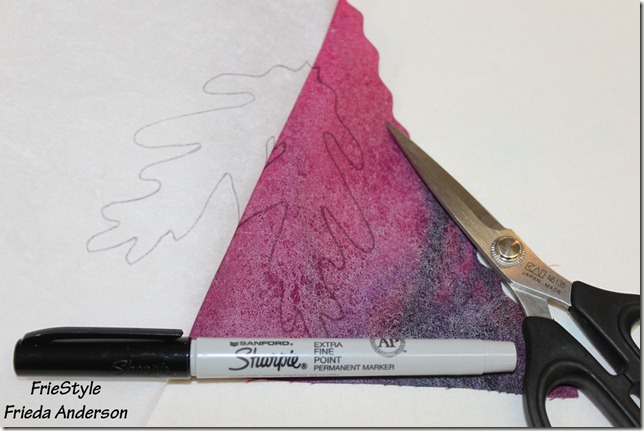
To trace the design from the pattern I used the release paper that peals off of the fused fabric. I always use
WonderUnder #805 when I am fusing and a Sharpie extra fine black marker.

I used the Sharpie extra fine marker to trace the design. Once the design is traced I placed the marker side of the traced design against the fused side of my fabric and pressed with a hot dry iron. I will often cover it with another piece of release paper to protect the exposed fused areas on the rest of the fabric.
friedafabric3
friedafabric5
I always let the fabric cool down and remove all the release paper before I and cut out the design on the line that is transferred to the back of the  fused fabric.

It helps if you use VERY sharp scissors so you get a clean crisp edge.
friedafabric6
Once I had my design finished I added in a layer of Fairfield batting to the back, instead of the extra firm stabilizer that the directions call for.

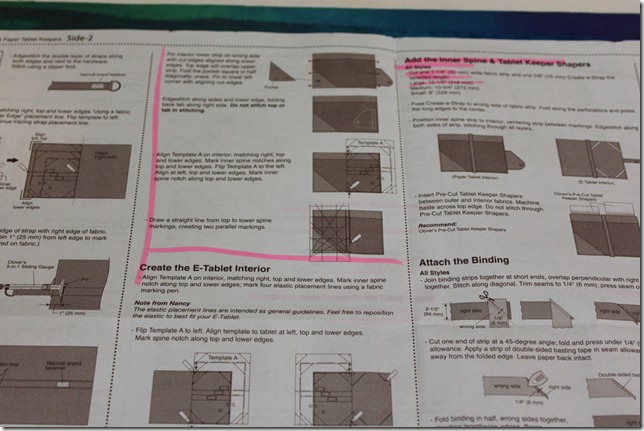
One of the things I did as I was working with this pattern was to highlight the areas in the pattern that refer to the Paper Keeper part of the design.

The pattern has directions for several different applications and it just made it easier for me to keep track of what I was doing if I highlighted my parts.
paperkeeper
Ok that’s it for now, I will finish up this project tomorrow.
See you then.

Paper Keeper Project

5 comments
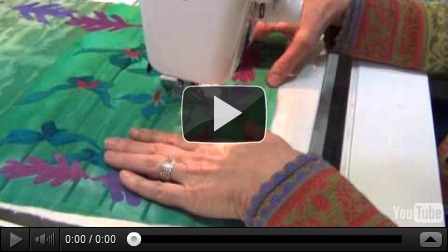
Machine quilting the paper keeper cover
I hope you enjoyed the video. Please pass it on to your quilting buddies.
After I finished the machine quilting, I squared up the top to the exact size by placing the plastic template back on the front and trimming it to size.
friedafabric7
I found it helpful to put a piece of doubled scotch tape in the corners and then place my ruler over the template and use my rotary cutter to trim up the sides.
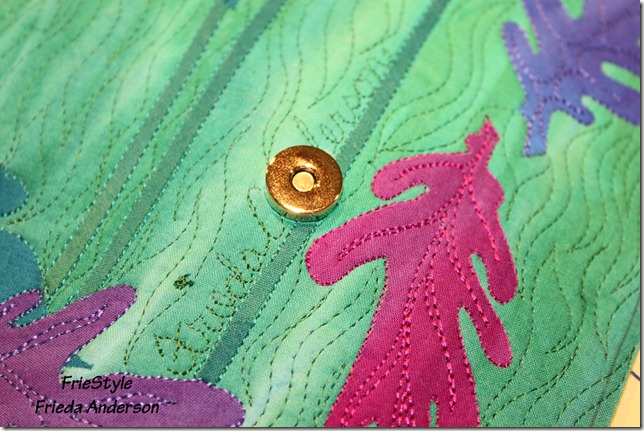
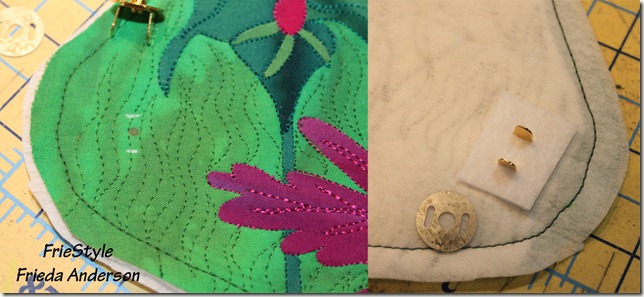
Next I needed to add the snaps and create the tab. I had never used these magnetic snaps. I found them very easy to put in.friedafabric8

friedafabric9
You mark where you want the snap to go and then cut two slits and fit it through. I added an extra piece of very stiff peltex to the underside to give it more strength.
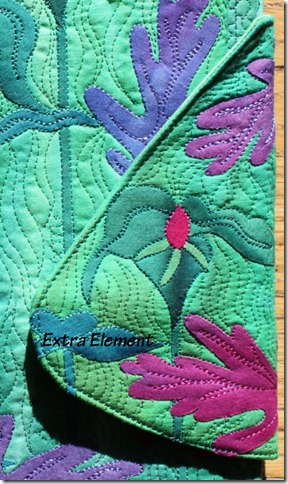
Pay attention to what you are doing, because I cut on the wrong side of the tab the first time and had to add in another design element on the front over my mistake!! The second side of the snap goes on the inside of the tab.
friedafabric10
Once you sew on the side tab and add in the inner fabrics with pocket you run a stay stitch around the whole outside to hold it all together so you can add your binding. This project called for a traditional binding but I made my a fused binding.

You can see a tutorial by pressing the tab that says FUSED BINDING at the top of my blog.

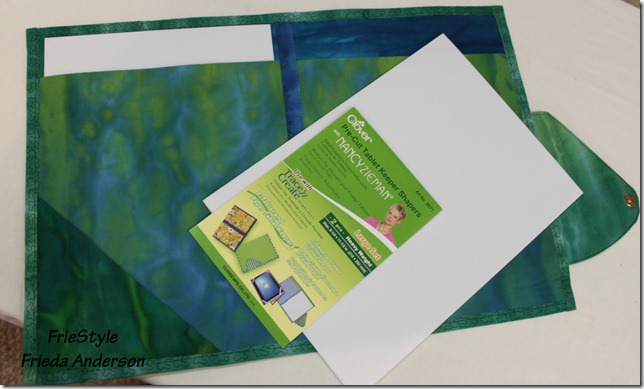
Once all the bindings are added you slip the plastic precut shapers inside this makes it a very sturdy tablet or paper keeper.
friedafabric11
friedaandersontabletfull2

A pretty quick and fun project. I hope you all make yourselves one.
For more ideas and inspiration, I invite you to become a follower of my blog. Just click on the link to the right that says join this site.
Happy Sewing

Thursday, January 19, 2012

Woodand Wonder

9 comments
friedandersonpaperkeeper
I happen to run into Nancy and her assistant Deanna Springer at the Houston Quilt Market, and we had lunch. Poor Nancy and Deanna, I was getting sick and ended up with Streep Throat  and they had to sit and share lunch with me, but don’t worry I didn’t kiss or hug them or anything like that.
Anyway, during lunch they were telling me about their new product and I of course had to get in on the action.
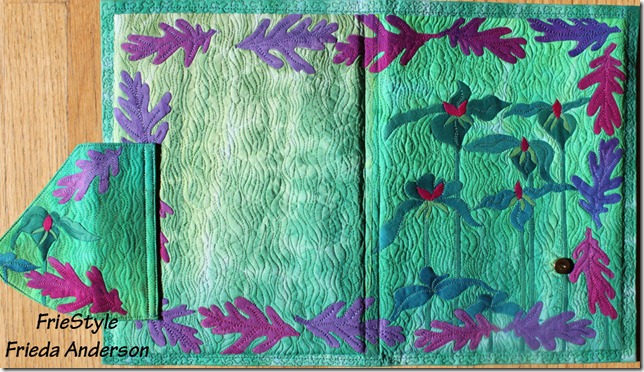
My version of Nancy’s Notion E-Tablet and Paper Keeper project.
I have said this many times before, I love Nancy Zieman, she is the nicest person in the quilt industry. Nancy is doing a blog tour of the Tablet Keeper makers. You can visit her site and sign up for prizes from Clover.
IMG_2477
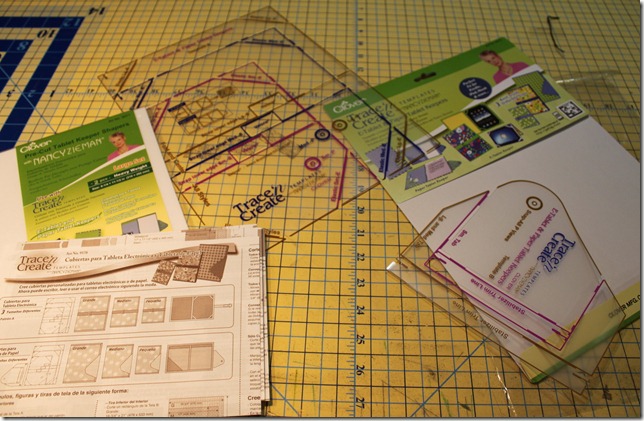
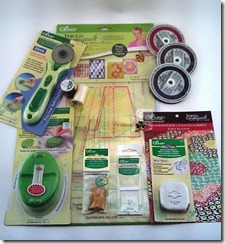
NancyZieman Trace n Create templates from Clover. This is for either an E-tablet and or Paper Tablet Keeper. I don’t own an iPad because I think it is redundant - I have an I-Phone, it can’t really do much more than my phone can the I-pad is just bigger.
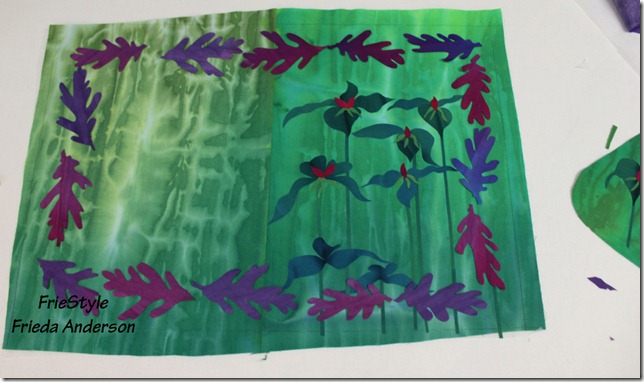
I made my version of a Paper Tablet Keeper. I used my pattern Petite Trilliums for the jumping off point.
FriedaAndersonPTrilliums
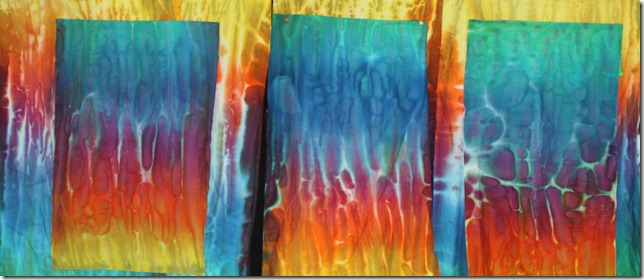
I have been making this really cool fabric lately. I want to use it in everything I make. I call it wicked fabric. I don’t sell this stuff because each piece is so individual.  I really like it. and I am not ready to share it yet.
But I wanted to use it in this project. I thought it looked like the wooded areas where the Trilliums grow.IMG_1520
These are not the colors I used, but aren’t they great, I used greens and teals instead.
Initially I thought I would do earth tones like this little quilt.
Sold in Paducha 2011 $125
Tiny Trilliums mounted on a peltex frame.
But as usual the whole opposite color combination theme really caught my eye when I was sorting through fabrics to use and so I went with deep teals and hot pink for the stems and flowers on the green background.
IMG_2505
I just couldn’t resist using the deep purple and fuchsia for the oak leaf border.
An aside. My DH came down and wanted me to sign something while I was working on this. He placed the paper down and then looked at the project and said, I quote, “oh that’s really nice”. I nearly dropped over, he never comments, let alone says anything is NICE.
IMG_2511
IMG_2497
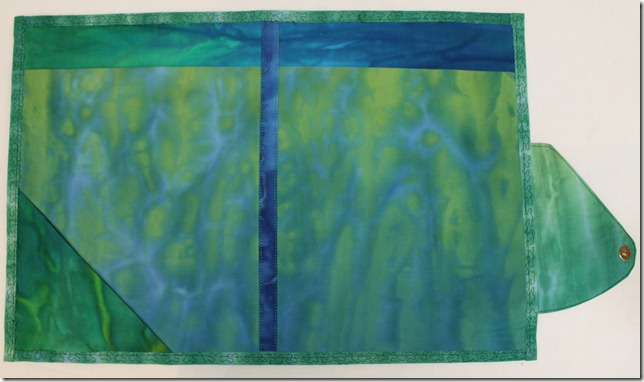
I love the inside too, I think it is so cool, it is also made using some of the wicked fabrics. I love the combinations that I choose, the blues and greens. They look like water don’t they?
I had a good time making this project and I will share with you the steps that I went through next week in a video.
Thank you for stopping by today to see my creation!  For more ideas and inspiration, I invite you to become a follower of my blog. Just click on the link to the right that says join this site.
A big Thank You to Clover for providing the templates, shapers and hardware to construct this project!  And don't forget to enter HERE for Nancy's drawing to win these great products from Clover:
nancy_zieman_Clover_giveaway2

Tomorrow’s big reveal

4 comments

IMG_2488

I have been working on a project all week.

Here is a sneak look.

All will be revealed tomorrow.

Wednesday, January 18, 2012

Walk every Day

7 comments
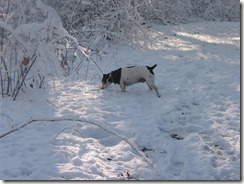
I walk every day. Rain or shine, sleet snow it doesn’t matter, well I won’t walk when it is lightning out.
gw5IMG_0085gw6
I have a little dog, George, and he needs to get out. I find so much pleasure and inspiration from my daily walks,and I miss them when I am on the road.
I know that I would not have that motivation to get out there everyday if it wasn’t for George.
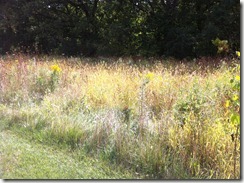
This past summer I started walking around a man made thermal pond that was built to generate electricity for the new hospital that sits right beside the woods were we normally walk. And that definitely inspired me to make some new small art work.
IMG_0872IMG_0873IMG_0875IMG_0874
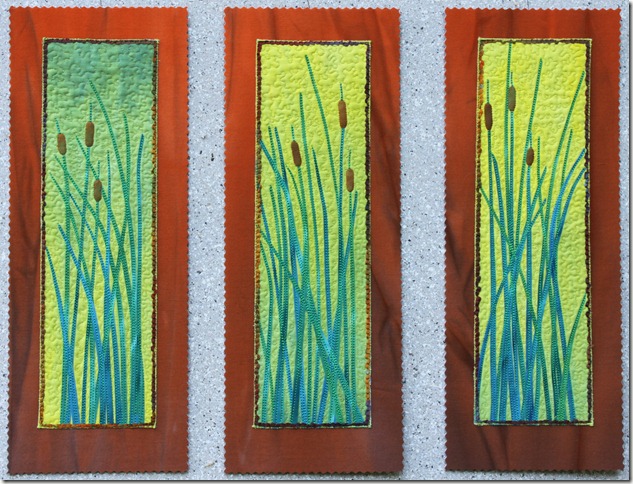
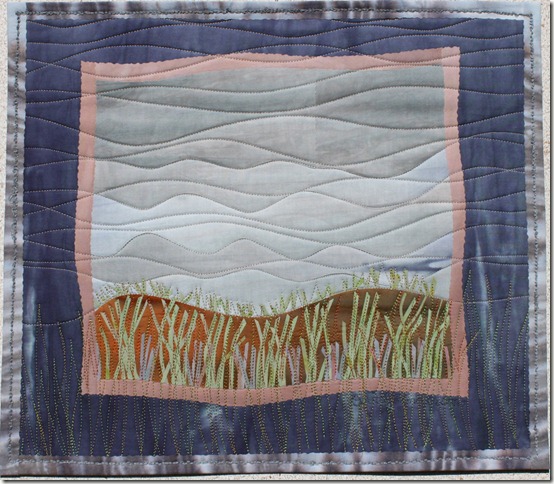
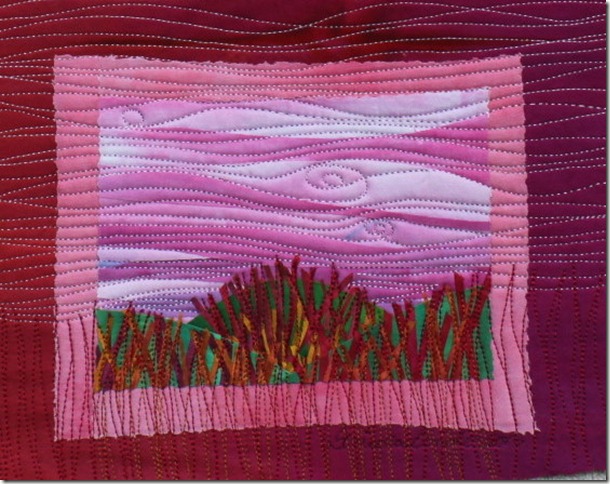
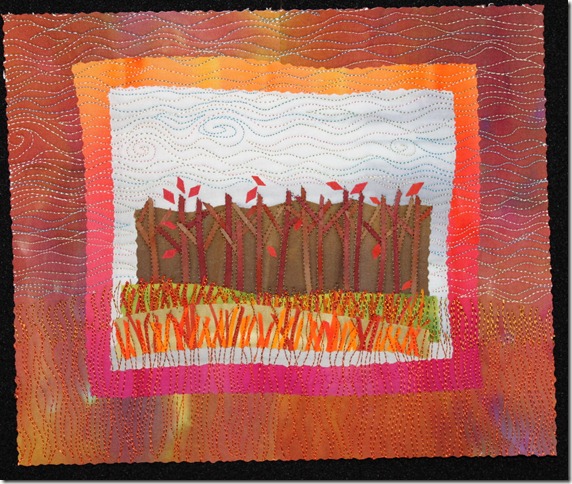
My new series on Cat Tails and Prairie Grass were taken from these daily walks.
IMG_1617
IMG_1806
IMG_1929-1
Tommy Fitzsimmons2011
Walking everyday gives me topics to put into color and pattern. I love it.

Print this page